
I wasn’t aware of it for a long time, but I recently discovered that our backyard was hiding something amazing from us.
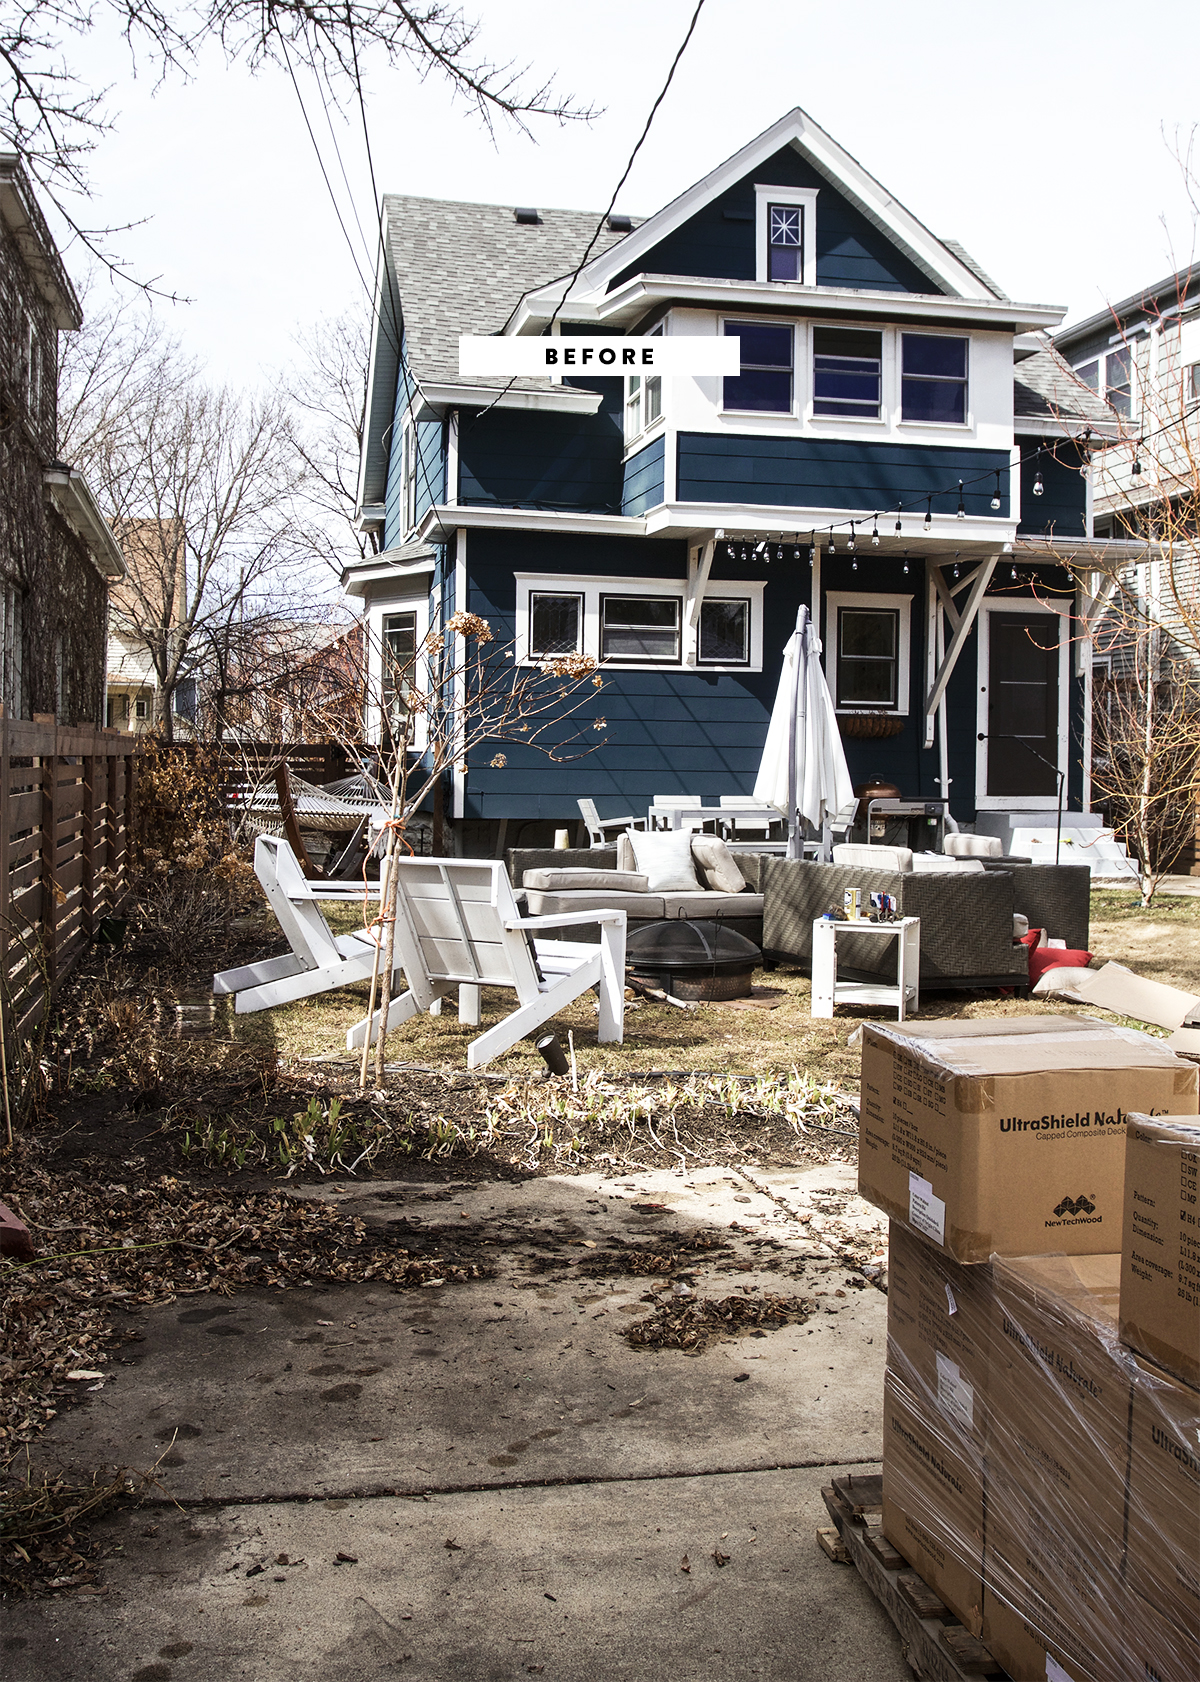
This awesomeness was disguised as a concrete slab next to our garage that was probably intended for overflow parking. We are a two car family that fits (very) snugly into our two car garage, so we’d always thought that maybe when our future-teens learn how to drive they’d park whatever hand-me-down beaters we give them in that extra spot.
Ultimately, we decided they can park on the street and scrape their own icy windshields like generations of Minnesotan Teens before them. The spare parking started to seem like a waste of very valuable backyard square footage.
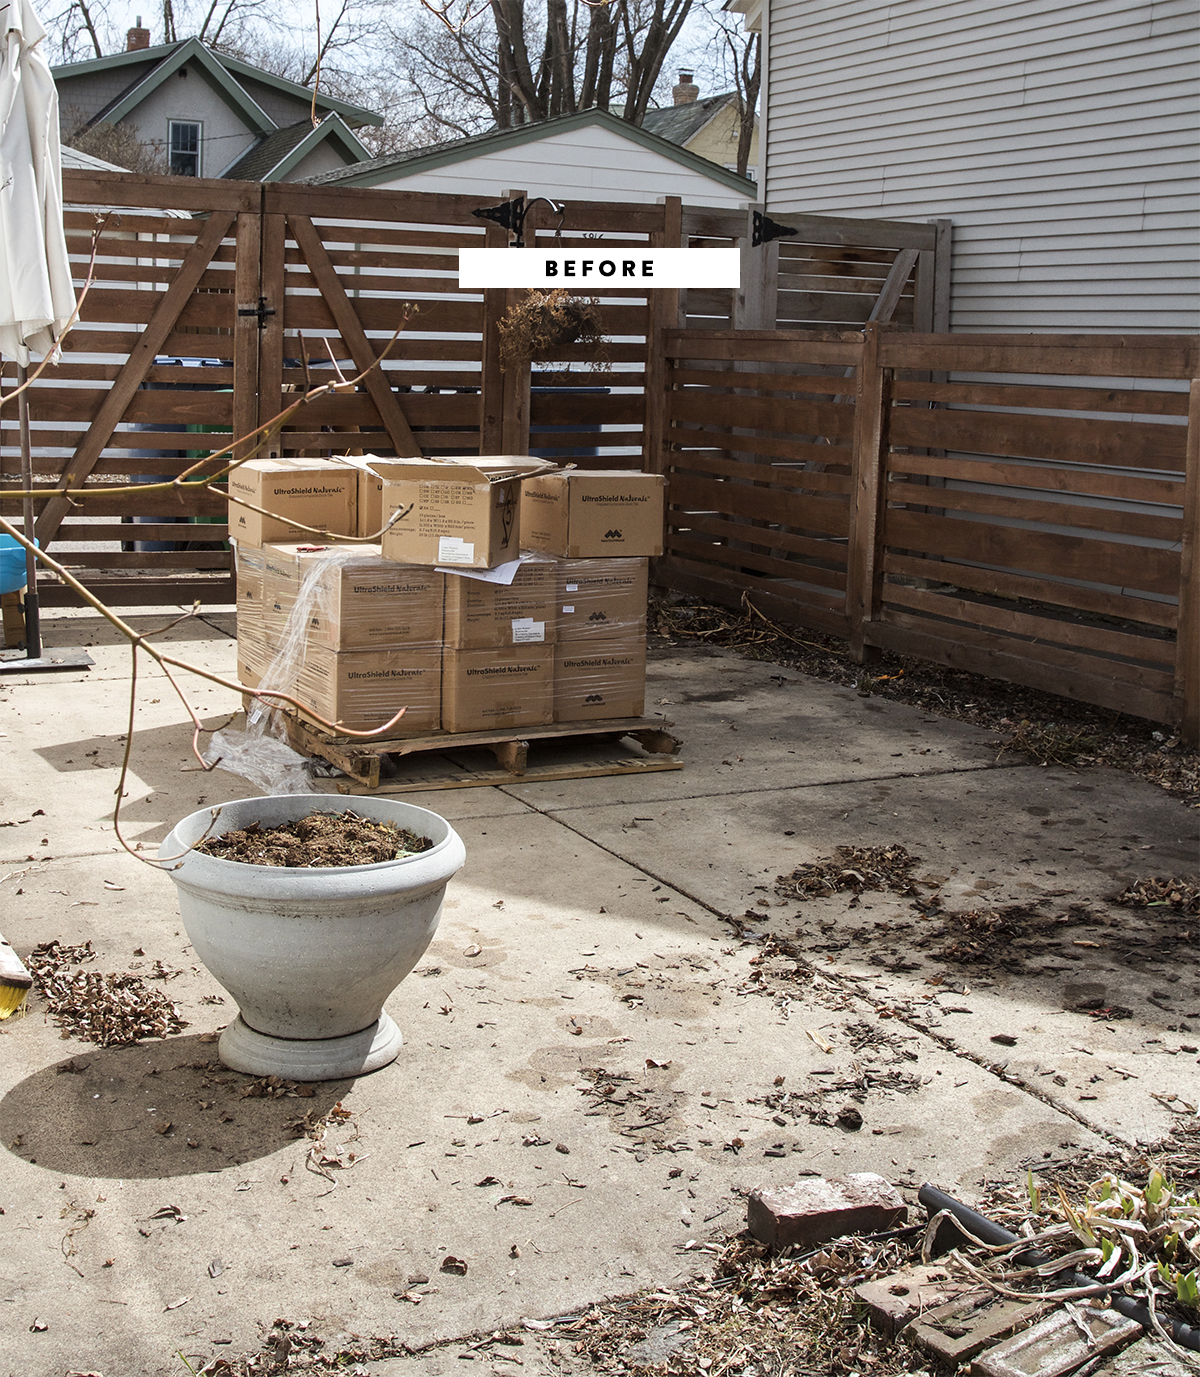
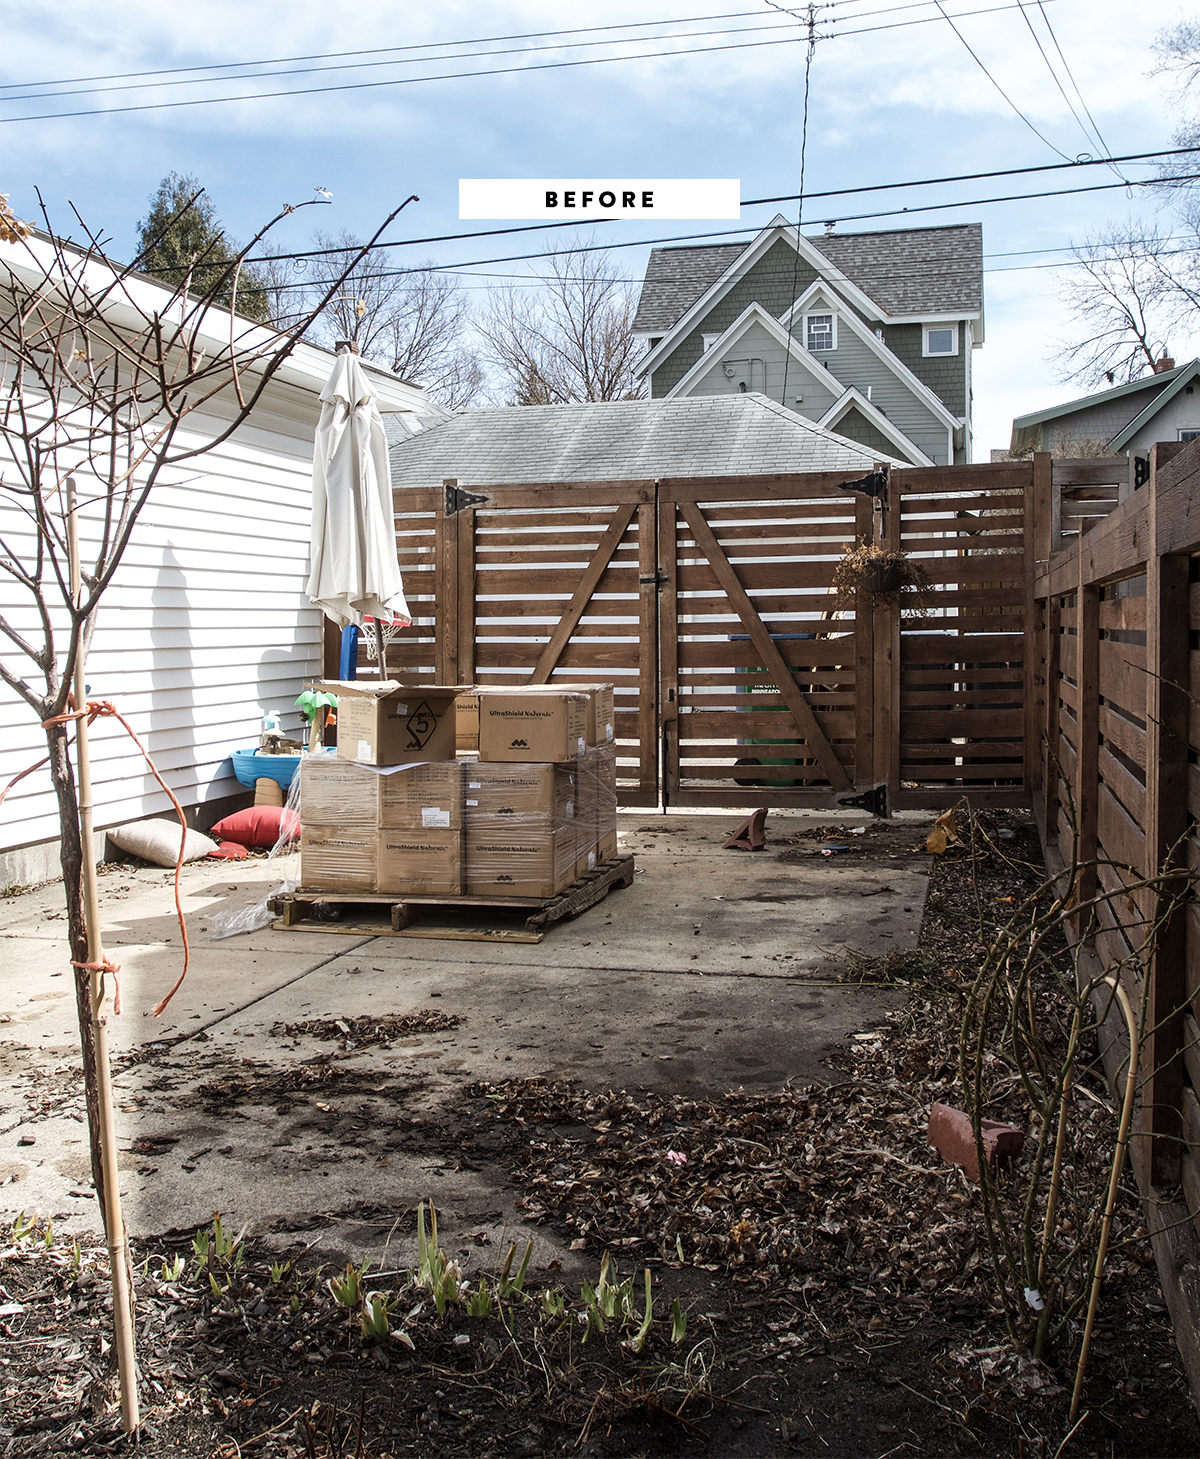
A few years ago when we had the fence built, we decided that we would fence around this parking slab (in case you are confused it previously had not been fenced in). With the fence in place, the slab was starting to feel like it was becoming a part of our backyard. The kids would ride their tricycles on around in circles, and we’d fill up the pool on the concrete in the summer (which spared my lawn) but most of the time it just sat there. Most of the time it was just a sad and dirty place you walked through on the way to the alley to throw away garbage.
After checking a lot of outdoor yard maintenance off the list in previous summers (i.e. fence, roof, paint, stoop, front door), it seemed like a good time to really give that slab some useful purpose!
*Queue the airhorn I’m very excited to be able to share with you our new backyard patio! This new outdoor living room area rips, and it needed to exist! We may have maxed out the number of Hang Zones possible in this old house now!
I’ve been hinting at the goings-ons of the backyard here and there in my insta-stories (ever heard of it?). I just finished up the final project last week, and am excited to get into all the nitty-gritty details on the stuff I built over the coming weeks.
For now lets talk about the main ingredient. The floating decking tile! Did you know floating deck tiles were a thing? I had seen some cheapy versions of such a thing, but never realized that there was a much better option until after many hours spent scouring the internet. Before long I found NewTechWood and they have all sorts of sweet composite decking systems including an integrated floating composite deck tile system! Bestill my heart, could it be? Not only was this stuff modular but it was also good looking. This is exactly what I needed! So, I got in touch with my now friends at NewTechWood (available at The Home Depot, bros) and asked if they’d like to partner with me for this post. Lucky for me, they said yes, and a few weeks later a palette of beautiful Spanish walnut decking sat before me.
You guys I made a vid! Check it out to see the patio in all it’s glory and get a peak at how easy the install process is. To put things in perspective, Finn (my 8 year old) and I got to installing the tile the same day it arrived. After a quick sweeping of the slab we were ready – no other prep work necessary. We hit the ground running (or kneeling) and in less than 2 hours we had 200 square feet of decking installed! Amazing, right!?! Not only are the deck tiles it easy to install but it’s 100% eco friendly, and the tiles will not warp, bend, split, or crack. We’ve had a few heavy rains, and the water drains underneath the tile, onto the slab, and out into the alley – which makes it worry free when it came to placement of the new planter box and all the drainage concerns that go along with that. With a wood product you’d have to worry about rot and stains, but not with this stuff. Another great example of how easy install is can be seen here.
We have trees that drop all sorts of annoying little pieces of green everywhere, so my battery powered leaf blower has come in handy. It helps to blow those tiny bits out of the cracks which a broom may not be so successful on.

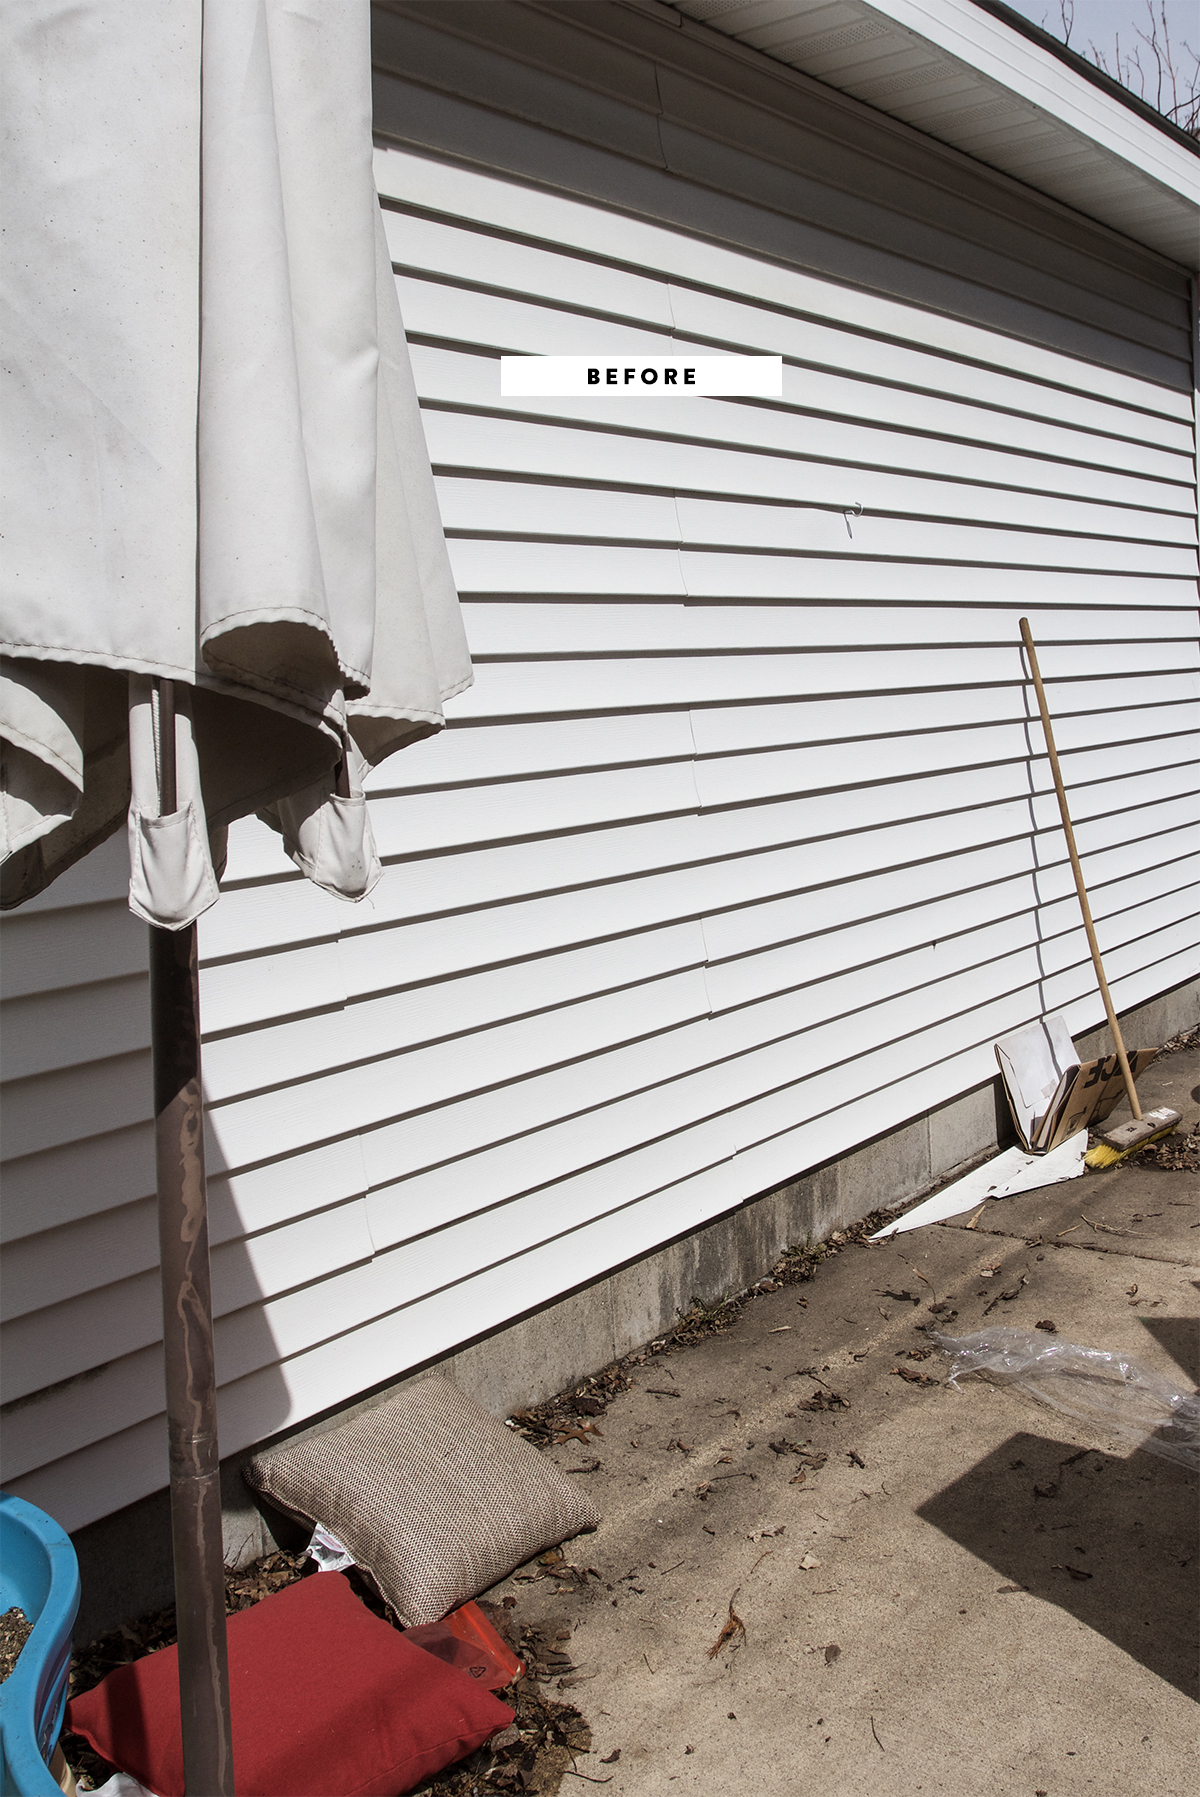

Because we were on a pretty tight budget I got to dress up and play carpenter and geometry math wizard for a few weeks. I built this trellis, the planter box and they cocktail table seen in a few photos above. I especially love the trellis, it breaks up that big white wall of ugly siding. I wanted to add something that had some visual weight but didn’t steal the show because of the size. In the planter below I started some Hyacinth Bean seeds and am looking forward to seeing them grow up on the trellis.
I knew that I wanted a comfortable and functional space that we would sincerely use as an outdoor living room and not just keep around for looks. I’m sure if you are from a warmer climate this sort of outdoor living thing is typical, but here in the Upper Midwest not all of us believe that outdoor living rooms can really be possible for us. So what if the season is short and the bugs are bad – we can be outside, people!
My kids make fun of me for always choosing black and white everything, but I love it and I think it can be used in so many different ways. Although the colors are high contrast, they can be made soft and cozy with texture like the knitted pillow or the sheepskin throw. I was also able to bring a bunch of stuff up from my basement for the summer to make home on the new patio, repeating patterns and colors makes it easy when it comes to shopping your house.
The sofa was found at Amazon for a steal of a deal – I brought it home for around $1200 in March, but now it’s gone back up to $1800. I don’t doubt that if you watch it for awhile the price could drop again. I feel pretty good about this set – it comes with waterproof sunbrella fabric outdoor cushions, and a rust proof aluminum frame. It also came with a whole lota burnt-red all-weather pillows (uh, yuck), and I covered them with inexpensive covers found on Amazon (here | here). To make the cushion covers more resilient I treated with all weather scotchgard.
We bought an outdoor rug to help define the space and to help keep the decking cool on super sunny days. The chair is from Ikea and I love it! So comfy, I think I might move it in doors during the winter months.




Isn’t this so pretty? I can’t stand it! I’ve planted two climbing roses on either side of the patio and I plan on training them to grow along the fence behind the sofa. If it works it will be magic.

You know how if you get a cantilevered umbrella you also need to get really heavy weights or bricks to anchor it? I decided that I’d use a jig saw and cut out the profile of the base onto a resin planter. I filled the bottom of the planter with stones which make this thing super heavy but also allows plants to have good drainage. A pretty umbrella weight and another reason to buy more flowers.

If you couldn’t tell, this is the top of the coffee table! I love building this thing, they’ll be more details on how I put it together in a coming post.


Is it a planter, a beverage cooler, a tv stand or all three? It’s everything great. More to come on this piece too!

We’ve spent the last two weekends out here hanging out with the kids, watching movies, drinking champ’ and betting on horses. How did we live without it?


I highly encourage anyone (even renters) who have a tiny patio or concrete deck to consider UltraShield Naturale Deck Tiles from NewTechWood as a legit-bits option if you are in need of a little update or easy transformation.

Our Sunny Northwoods Patio

Our New Woodland Patio With Article Outdoor Furniture

All The Info About My Horizontal Fence

Target’s Patio Sale is Just What I Need!

An Easy To Build Outdoor Coffee Table

Make this Starburst Trellis
Easy to Install Low Voltage Outdoor Lighting

DIY Flower Box with Beverage Cooler

Patio Inspiration & Ideas

Spring Fever : Ideas for the Backyard

Simple Landscape Lighting

Alley Appeal

Reveal : Our Fence – 1 year later

Let’s Talk About Fence Stain, guys.

My July Garden

New White Outdoor Chairs

Using Landscaping to Create “Zones”

My June Garden

Take Your Legs Off Yer Thing




That’s so lovely! I really like your decorating style. I’m very envious of the decking. I have a cement patio where I would love to install those, but I would need at least 120 square-feet, which is cost prohibitive for me. I’ve done so much work in my backyard and being able to cover this patio would make such a difference.
Hey Erica! Thanks so much! Have you ever thought about staining or painting your slab while you save funds for a decking solution? I toyed around with that idea too, if you had the patience you could probably paint a really cool faux encaustic tile pattern.
Thanks! Those are really good ideas. Might be a little tricky since I’m a long-term renter here, but I probably lost my deposit a long time ago any way. I’ll have to think more about this.
YOU are srsly so good and one-of-a-kind your stuff is amazing! now you’re a director. sofia coppola comes to mind in style and soundtrack, loved it. what was the music??
Cool comment handle – I like it!
The music is made one of my oldest and dearest buds, Aaron Mader, aka Lazerbeak, this is off his Lavabangers record.
geez this is amazing. I used to just be jealous of your gardening skills but now this?!?! Sigh….great job!
Shucks. Thank you!
This video is the BEST- moving furniture around like a boss and Finn being the coolest / most helpful kiddo. The planter-as-umbrella-weight and built-in bevie cooler are my favorite details :)
Thanks, Great! I’m glad those kids like to help me out from time-to-time. He was really excited and proud of this project, he takes all the credit too, which is totally fine by me. The cooler does rule, I agree. I think it might be my favorite part too.
BOOM-SHAKALKA……! thats all I have to say about that…and….love the slow mo moon walk :)
Thanks, Shannen!
OMG, that looks like the coziest hang space ever. Such an awesome transformation!! I am especially impressed with your planter/umbrella-weight invention. Is that an Ikea umbrella? Do you like it? We are in the market for an umbrella like that but they are so expensive…that Ikea option is definitely appealing.
It is an ikea umbrella – the $69 version without a base. I like it so much that I bought another one – the first one I bought last year. They are such a good deal, I say go for it unless you need a HUGE umbrella, these are just average size. I really like the pure white color which surprisingly has stayed pretty clean and new looking even after a rain or a winter outside. I say thumbs up!
Allison! You are so GD AMAZING! I wish I had even a tiny bit of your skill, motivation, talent, and eye. You never cease to amaze me! It’s all so super fantastic! Love, love, love it!
Wow, this is amazing! I have an awkward concrete parking slab on the side of my house, and this blog post is giving me so much inspiration for what to do with it! Can you do a tutorial on how you built that beautiful trellis? I love it so much and would like to build something similar! Thanks again for sharing! xx
It’s such a gorgeous, cozy space now! I love all of it but possibly the trellis most of all. And definitely more usable than extra parking!
It’s like you’re on vacation every day when you have a fabulous patio like this! I look forward to the tutorials, too!
What a great transformation! I’m interested in making a little patio, too, but I can’t track down pricing info on these on their website nor their MN retailer website. Can you help me out?
Hey Anna, Sorry for the delay in response. The Home Depot carries the product online and it runs around $50 per 10 square feet.
Hope that helps!
We have the exact same house and yard! And JUST last week I decided to do something about wasted porch next to garage! Sooooo I RAN to Home Depot when I read this and found out these can only be ordered online and will cost $1000 for 150 square feet. Totally worth it but not in the cards now – maybe when kids finish college! Tried to send pic but can’t!
Looks fantastic! Be careful, or you’re going to end up designing rad patio spaces all over the Twin Cities! :)
Wow tell your kid he did an amaaazinnng job. My heart is beating heavily looking at this post LOL. It’s just beautiful. I’ve lived without a yard for a couple years, and this is getting me super duper duper excited about the house we just bought. My first backyard that I get to style myself!!! I came across your blog looking for green living room inspirations. I can’t stop reading your posts. Everything is fantastically put together…and oh it’s my style. Btw is dark green a thing now? Because if it is… I’m in heaven.
Amazing! Could you share what stain color you used on your fence? It’s lovely!
Hey Savannah! I originally stained it semi-transparent chocolate by behr, but last summer I went over it with a coat of semi-transparent coffee stain by behr. Hope that helps.
Am I crazy? I can’t find a post on that awesome coffee table anywhere – is it still in the works?
Wow! You turned a plain patio into a stylish and comfortable outdoor living space through decor, furniture, and plant additions. Well done!
Visit the Summerville Stamped Concrete
Thanks for the valuable information and insights you have provided here. Amazing!
Learn more about Stamped Concrete Patio Frederick
I love the way you write and share your idea! Very interesting and different! Keep it coming!
Learn more about Concrete Contractor Columbia MD