I was so excited when my Burpee Aluminum Corners finally made an appearance in the mail earlier this week. We had been waiting patiently for them for almost two weeks.
Last weekend Jeff and I ran over to the Home Depot to pick up some cedar boards so we were all set and ready to go when we started constructing our garden Tuesday night. The whole process was really easy. I’m a little handy but not super handy, so using a saw is kind of a big deal for me, and if you haven’t noticed Jeff’s talents lie elsewhere. Let me put it this way, he makes a real good babysitter while I get down to business.
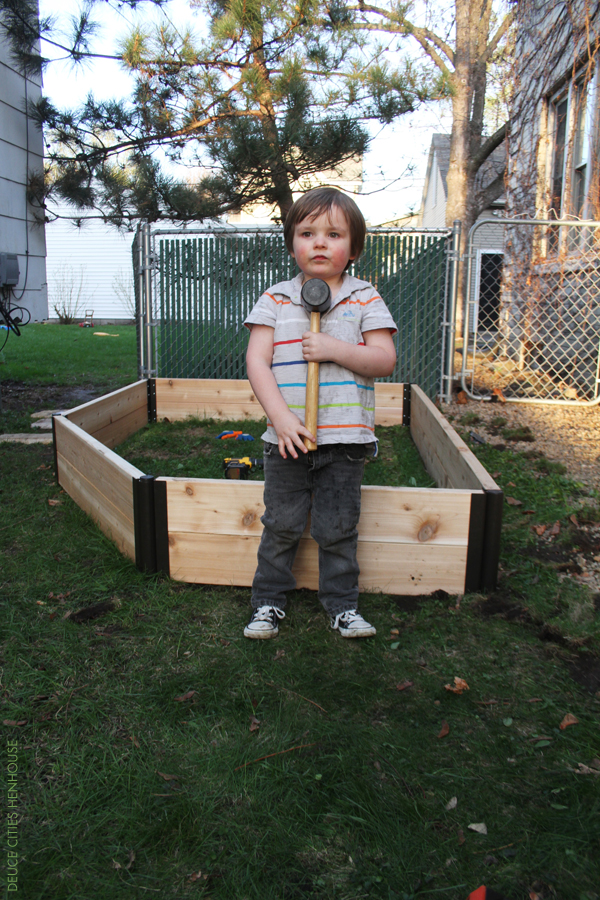
I can’t give myself all the credit though, I did have a few helpers this time. Finn and a few neighborhood kids where great assembly assistance.

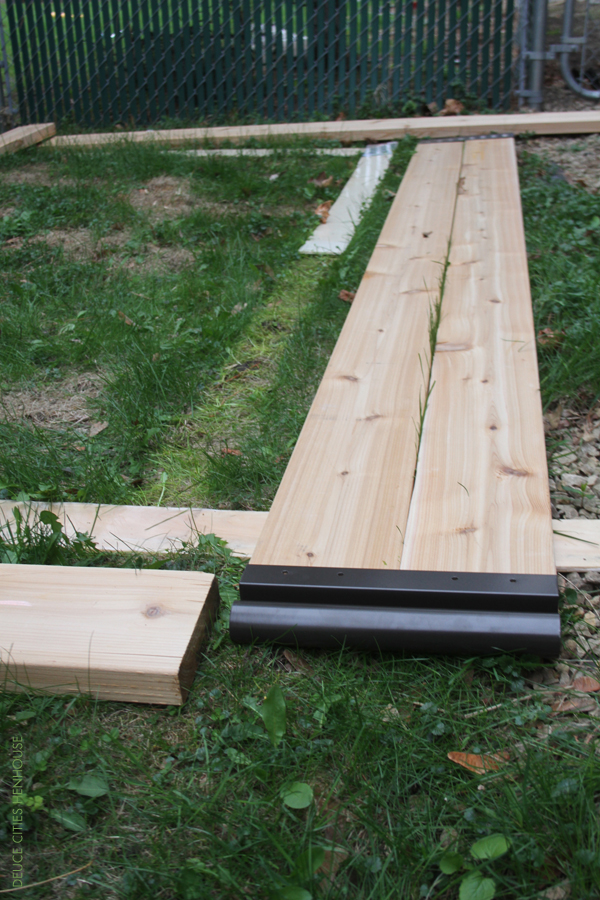
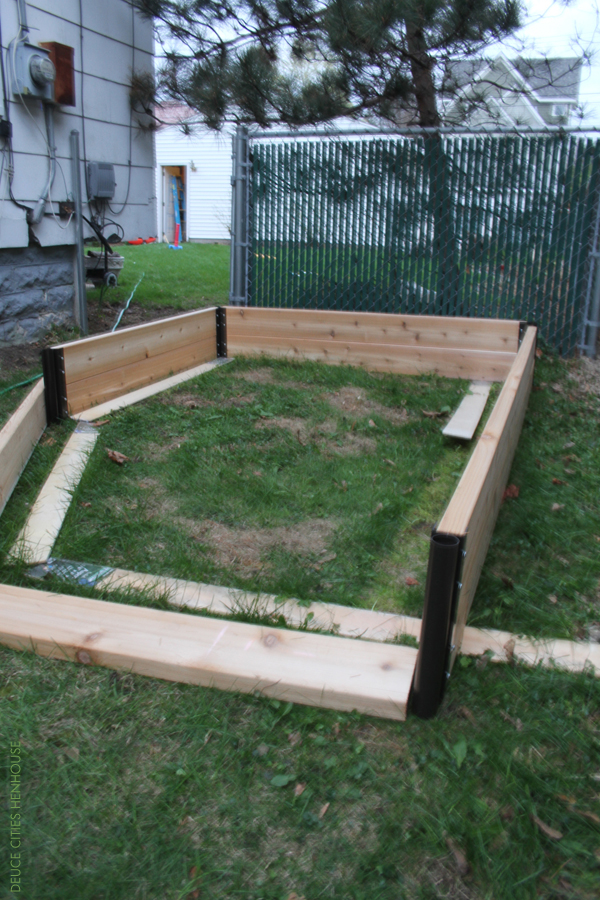
I can’t tell you how easy this was to build using the corners. All you have to do is measure your wood, cut and then attach the corners with screws. Once the 2×6 boards are screwed into place you just slide the pivot corner into the adjoining corner and blamo! The pivot corners are so simple to use, I highly recommend them if you’re at all hesitant about undertaking this project.
The main reason I chose these Burpee Aluminum corners is because they pivot. They are not locked in at a 90º angle like so many other styles of garden corners. I wanted the garden to hug the shape of my house and look custom, plus I am totally not a math wizard, having pivoting corners took out all the guess work.

There are a few other benefits of these corners too. In the future if I need to replace any boards all I will need to do is slide out the garden wall, unscrew any damaged or rotted boards and replace. Another great benefit is that these corners will allow me to easily add on if next summer I decide to make the garden larger.

It’s still a work in progress so be prepared for a few more garden updates.
Thanks to Meg from ourwaytoeat.com, she gave me a lot of advice when I first posted about undertaking the raised bed garden project. I since have bought my own copy of Square Foot Gardening by Mel Bartholomew and plan on using the suggested formula for dirt mix. Approxmiately 1 part compost, 1 part peat moss, and 1 part vermiculite or a substitute as it seems vermiculite could potentially be dangerous and or hard to come by.
Anyway, I am beginning to collect dirt and will keep you updated on our future progress!


Good for you! A veggie patch will change your life.
I can’t wait for it too!
Hey Alison!
Thanks for the shout out!! I am so glad if my enthusiasm for raised bed gardening has proved helpful and/or encouraging to you. I think you and your boys are going to have fun with this. I think “delightful” is the word that best describes the way it feels when you see what a green thumb you have, even as a relative rookie. I look forward to comparing raised-bed progress this spring. The pivoting corners are awesome!
Me too!
I’m excited to see some blog posts from you on your gardens, and maybe some recipes for how to cook with em too!
Cool. I miss my vegetable garden. My husband and I are in Switzerland with no back yard at the moment. This idea will be great when we get a back garden of our own, though… so I’m definitely bookmarking this!
Where are you originally from? That sounds so exciting to be living in Switzerland.
YES! It looks so badass hat picture of Finn is way too much.
First Comment Fail. Computers are hard.
It’s supposed to read “so badass – and that picture of Finn is way too much” and a few exclamation points were meant to be involved…
Oh no, I hope this doesn’t scare you away from commenting in the future. You know Finn, badass to the max.
Did you guys check out your garden space the other day?