
In honor of Jeff and I buying our first house tomorrow—AND in honor of this awesome time of year called “spring”—I decided to do a post inspired by spring. I may be jumping the gun a little bit but I don’t care. I planted some seeds, oh yes I did. I am so confident that summer is on its way that I am forcing the greenery along. My new backyard will be green with plants. So I pushed some moving boxes aside, found my bag of dirt and cracked open some eggs.
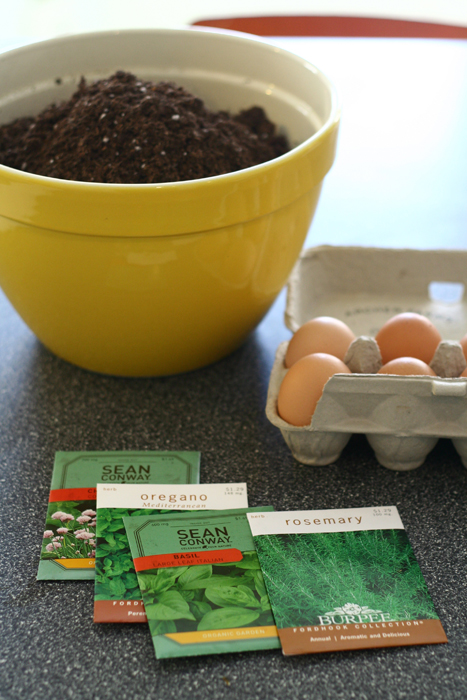
Eggs are a good medium for planting seeds in because they are biodegradable. All you have to do is plant the seedlings with the egg in your flower pot or garden. Plus these eggs looks super adorable, they would make great gifts for the green thumb in your life (Colz and 50’s: you should be prepared to receive some special herbs in little egg shell pots in 14-21 days.)
I followed some basic instructions that I found on the internet, and I took inspiration from Erika’s blog over at www.foxandowl.com. Erika had planted some seeds in eggs last April and ever since I saw her do it I knew I would have to do the same this year.
This is what you’re gonna need:
Seeds (I used some basic herbs)
Dirt
Eggs

Step one seems kind of crazy: you need to cut the tops off of some eggs. Seriously, I know it sounds weird but if you just take a pair of scissors you can gently cut the top of an egg right off. Then you dump out the yolk (or make scrambled eggs) and wash out the inside with water.
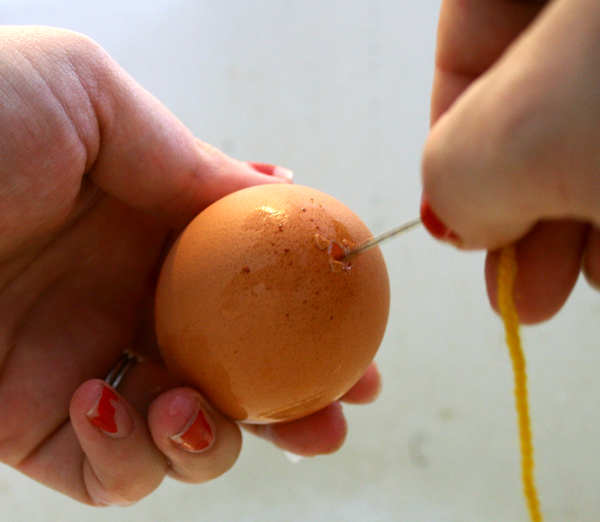
After you get all your eggs emptied out, you will want to poke a hole in the bottoms for drainage. I poked multiple holes in the bottom of my egg shells using a standard darning needle.
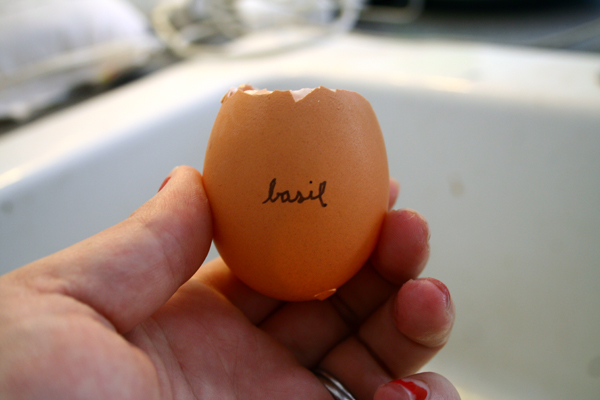
Now with your eggs all clean and emptied out you’re going to want to write the name of the seed on your egg. This way you can keep it all straight. Note: it is very hard to write script on an oval egg. Results may vary.
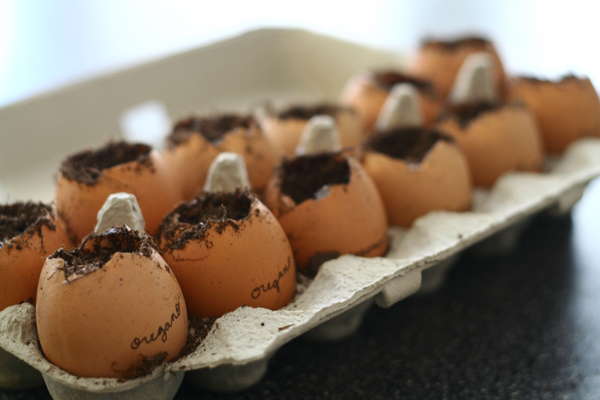
Now for the obvious stuff: you’ve got to add dirt to your egg shell. On the websites I looked at they were talking about using a special seeding dirt, but I didn’t have that so I just used regular old potting soil. We will see if my seeds actually grow or not. For planting the seeds I just followed the instructions on the back of my seed packet, and you should do the same thing. Tip: I used one of Finn’s baby spoons for filling up the eggs with soil and it worked great!
If these little seeds actually turn into herbs I will post future pics to let you know how they turn out.





I love this idea!
I love your pictures too…
Thanks,
Andrea
Oh I'm glad you are trying this! Ours were successful last year…we only did leafy stuff like herbs and kale and chard because we don't get all that much sun in our back yard. Your pictures of this project are beautiful!
Thanks Dudes!
Erika – I didn't even consider the sun when I started this, just goes to show how much I know. I think my thumb is still pretty brown. You can't go wrong with herbs though, right?