Colez is having a baby in July, and I decide that I should probably make her baby a baby blankie. I am kind of a baby blanket fanatic, I myself still have my own baby blanket after 27 years (I think it’s impressive). As a kid I was very particular about my “GeeGee” and I never let it drag on the ground or get dirty. My mom would wash it for me a “special” way, I had very high standards. Anyway’s I understand the importance of an awesome baby blanket probably better than anyone, so I felt that it was my duty as a good Auntie to make sure that the little chipplette also understands this.
I was originally inspired to try and crochet the Granny Square style blanket from a post that I had seen on Apartment Therapy’s Ohdeedoh site. Next I had to figure out how to crochet. I found another useful way to use the internet and I had youtube teach me how to crochet. After a lot of trial and error I was finally starting to feel confident.
I found the pattern via an expert crocheter’s flickr page. It’s called a sunburst pattern, here’s a link in case anyone else might be interested in making a sweet ass babe blankie.
THE PROCESS
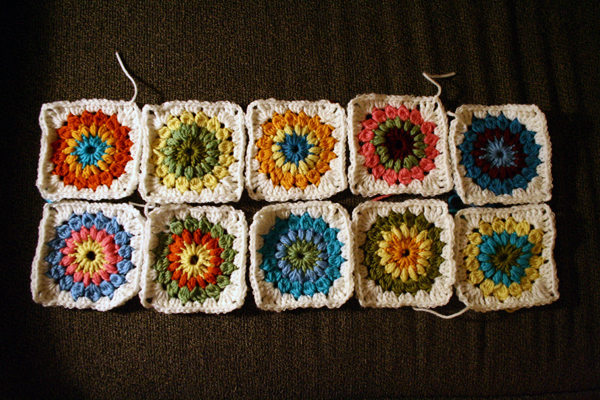
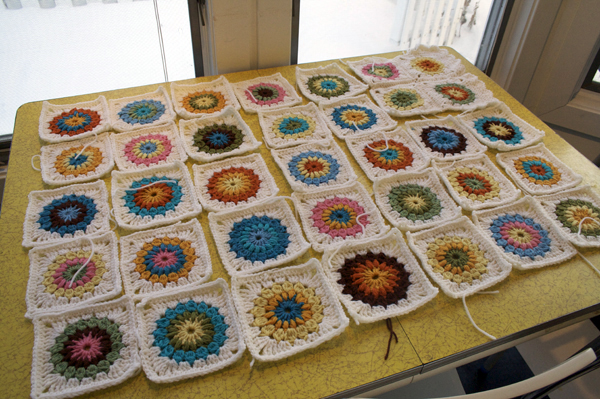
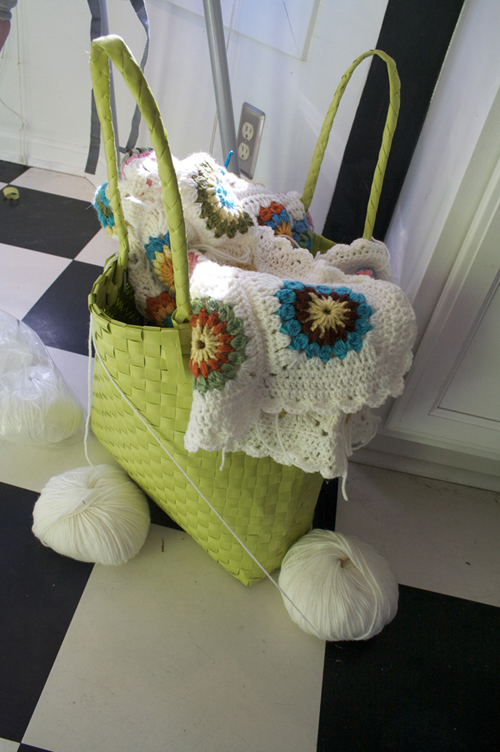
The first ten squares! After doing some research on the internets I decided to try out Cascade 220 Superwash wool. The colors are super vibrant, and in my small amount of experience, it seems like a lot of nautral fiber yarns don’t come with so many color options. I was happy with the results.
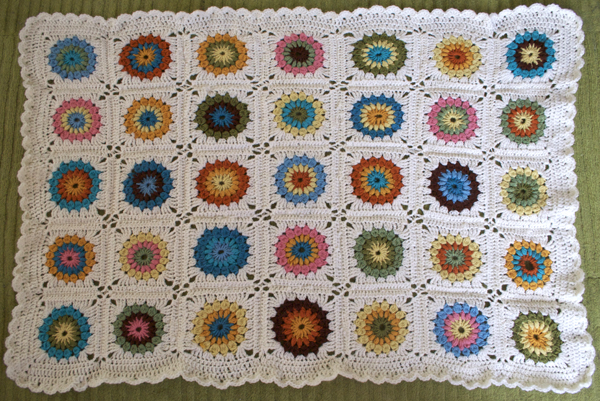
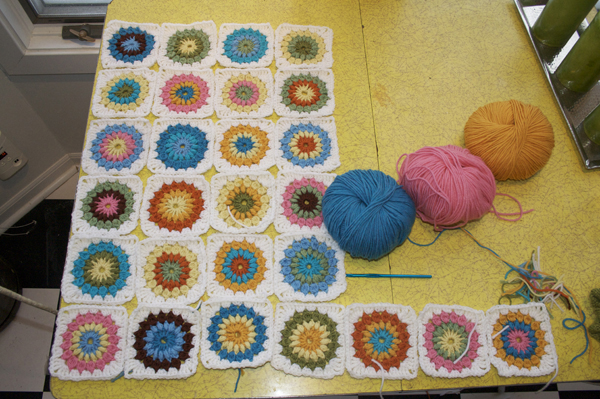
I couldn’t figure out how big to make a baby blanket. In the end I made it the size of my kitchen table.
I didn’t make any of the squares the same, but I did make different versions with the same colors.
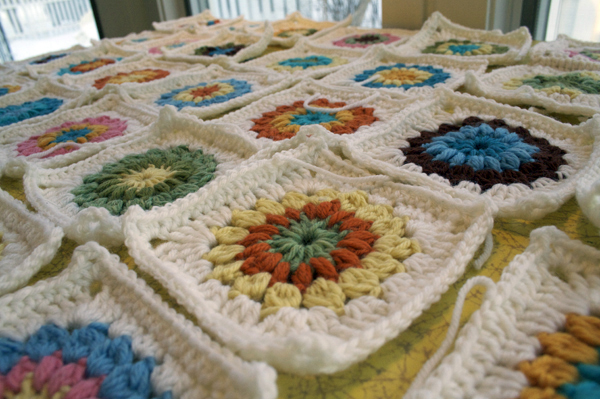
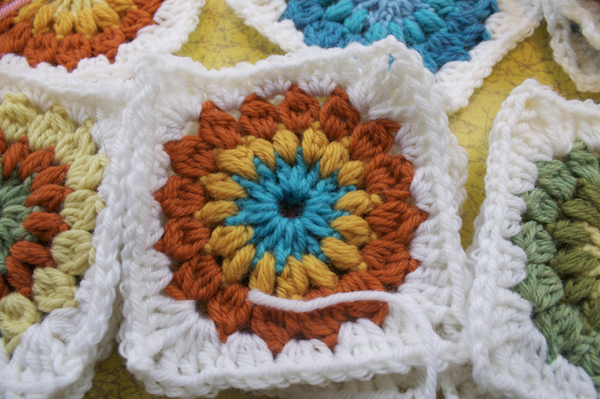
A close-up.
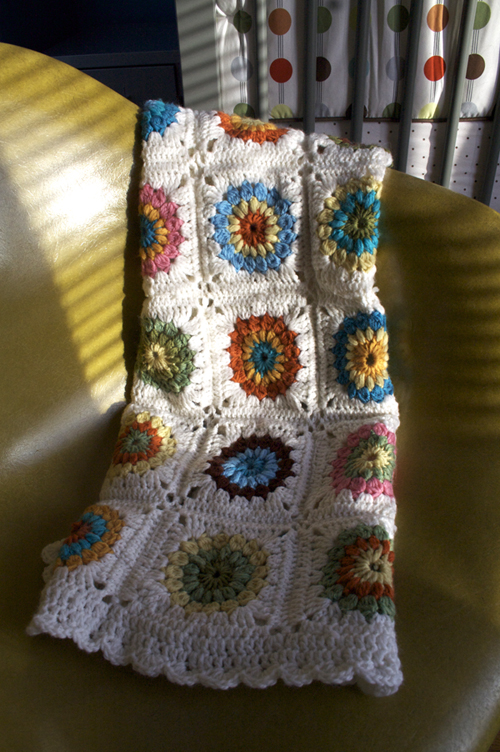
Shit Yeah, it’s almost done. I have it all sewed together, the last and most boring step is to tuck in all the loose strings.
Updated 02.17.12
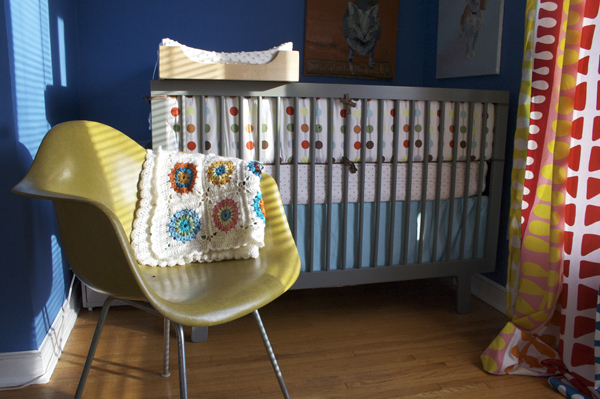
I added an extra round to all the squares including a nice little space in each of the four corners. This way when I joined them it created a pretty little star pattern. There was really no rules when it came down to joining the squares together, I did single crochets which created a raised seam on one side. For the border I added a simple scallop pattern, and adjusted where needed as I went around the perimeter. In 2011 I made a few more sunburst squares and joined them together to make a sweet little pillow for my son Gus’ room. Check out this post to see more details on that project.




This is awesome. I support this!
What a wonderfull piece.
nice greetings from Vienna
Betty
This is outstanding for a beginning crocheter! It's pretty damn good for an experienced crocheter too, so speaking as someone who's been crocheting for 20+ years I'm quite impressed. :-) I do believe I'll toddle off to that link for the sunburst granny now, because I need to make a blanket for a baby girl. Thanks!
Have you ever considered selling your baby blankets? i am having a baby girl April 1st and would LOVE to buy a blanket from you. i just adore both afghans you have made. Let me know!!!
I love it! I made 100 of these sunburst squares, but I'm having a heck of a time figuring out how to join them. Do you mind sharing your method? Thank you! maddy_maddie@hotmail.com
I'm making an afghan like this and I only hope it turns out this good!! If you wouldn't mind passing along your method on joining the squares and also the pattern for the border if posible?? bahensky@msu.edu Thank you!!
Hey, not sure if you answer these questions, but I'm in love with your blanket and trying to make it but I can't quite tell how you bordered each square – is it SC or DC? And did you chain around the corner on the border to create that tear drop effect? If you could give me some details it would be a huge help! twohundredkelvin@yahoo.com Thanks, love the blog!
I love, love, love this pattern and the link isn't working…do you have the directions. Also, same question as some others…how did you join the squares to create that great star pattern in the corners. Beautiful!
it's really nice! I agree with the others- what did you o for joining? It looks like a great joining method!
Oh woah, sorry. I didn't see all of these comments until right now. Sorry for any delay on the responses. You can always email me directly at scoops@deucecitieshenhouse.com
To be honest I don't really know how I did the joining, it's been so long now I can remember. It was very simple something like single crochets between every space, I was actually a little unhappy with it because it created a ridge on the back side of the blanket. I added an extra row around the original granny square pattern with 2 large spaces in every corner, and when assembled it created the little star pattern. Again, I did not keep track of exactly what I did but I am sure it was not too complex.
I will be making a sunburst pillow soon and will be asking myself the same questions about how I assembled it all the first time. If I figure anything major out I will be sure to post it.
Regarding the pattern, I believe you can still find it on priscilla's site, just do some snooping around and you'll run into it.
Thanks for looking and good luck!
It looks to me like the white border is a combo of sc, dc, and tc. Beautiful blanket and I'm also going to try to make it. Looks like starting from the top left group in white the pattern is 3tc, 3dc, 3sc, 3dc, 3tc with a ch1 between each. Looks like the corners are ch3. It has a beautiful square shape and the center is so round so this is the only way I can see this square shape is achieved.
Simply beautiful!
Hi could you tell me how to crochet together your looks good i am a beginner ut would love to know how to join the crochet way thank you Marion
Nice and Informative! I really like your sharing, all the pictures are awesome and i really appreciate the designer behind all these. Thanks for sharing!!!
dreamaire outlast blanket
I really love your colors. Did you use 10 colors? Do you mind listing the number or names. I am making a similiar one with brights. I like the brown, it adds depth.
Debra,
Here is the list of the colors. It’s been 3 years since I finished this project so I’m not exactly sure if these are all the specific colors I used. Hope that helps:
220 Superwash – Pumpkin (# 822)
220 Superwash – Celery (# 905)
220 Superwash – Yellow (# 824)
220 Superwash – Tangerine (# 877)
220 Superwash – Turquoise Heather (# 1911)
220 Superwash – Dark Aqua (# 849)
220 Superwash – Misty Olive (# 891)
220 Superwash – Caribbean (# 847)
220 Superwash – Cafe (# 861)
220 Superwash – Rose (# 838)
220 Superwash – White (# 871)
Regarding the finishing of the afghan, like I said it’s been awhile. I described the process in the post, but I don’t have an exact pattern for it. I kinda just made it up as I went.
Disapointing to show a beautiful piece
of work without pattern.